What to Photograph After Property Damage — Before You Touch Anything

Photograph everything before you move, dry, tarp or throw away a single thing, in four passes: the whole room, each damaged surface, the failure point close up with a tape measure in frame, and the labels and serial numbers. If water is still running, stop it first. The photographs take about ten minutes and they are the only part of your claim file nobody can rewrite later.
Knowing what to photograph after property damage matters more than most homeowners expect, because the scene you are standing in has a shelf life of roughly forty-eight hours. Water gets extracted, wet carpet goes to the kerb, a tarp goes over the hole, the burnt contents get bagged. By the time anybody argues about the estimate, the evidence is in a dumpster.
This guide covers the four-shot sequence that makes a picture usable, what each kind of loss needs captured, the shots people skip and what those omissions cost, and the habits that keep a photo set from being waved away. We are licensed Illinois public adjusters, not attorneys, so this is how these files work in practice rather than legal advice about yours. Your own policy governs what is covered.
Why do photographs decide a claim more than the estimate does?
Because an estimate is an argument and a photograph is a record. Both sides can write an estimate, and they routinely disagree by tens of thousands of dollars. Neither side can retroactively put a soaked subfloor back under a house. Photographs are the only part of the file that stops being negotiable the moment the shutter closes.
The timing problem is what catches people. Your policy requires you to protect the property from further damage, and most forms exclude damage caused by neglecting to do so — so you are obliged to start destroying the scene almost immediately. Meanwhile the carrier's adjuster is scheduled days later, and what that inspection sees is the aftermath of your compliance with your own policy.
So the file gets decided on two versions of the loss: what is still visible on inspection day, and what you can show was there before. If only the first exists, the second stops mattering. This is also why photographs are what reopen a closed claim later — hidden damage found during repairs is proved by comparing the wall now with the wall then, which is the mechanism behind every claim supplement.
What are the four shots, and in what order?
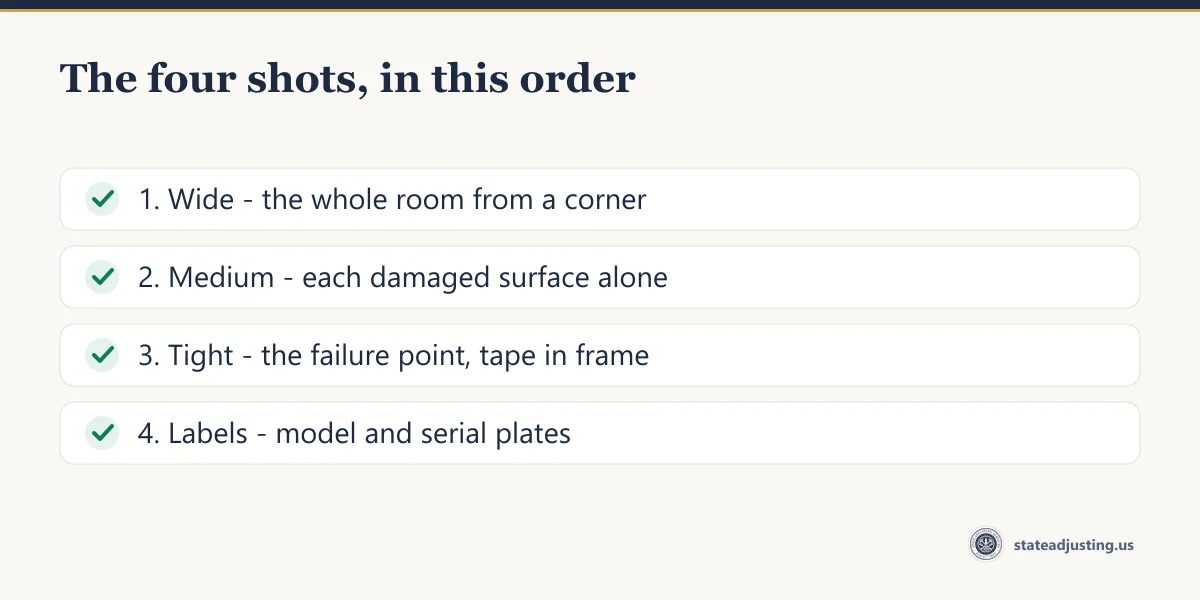
Work outside in, wide to tight, every single time: the whole room, then the damaged surface, then the failure point up close with something in frame for scale, then the labels. Four passes, in that order, for each affected area. Repeat it for every room, including the ones you think are fine.
| Pass | What is in the frame | What it settles later |
|---|---|---|
| 1. Wide | Stand in a doorway or corner and take the whole room, then repeat from the opposite corner | Where the damage is, how big the room is, and that the close-ups belong to this house |
| 2. Medium | Each damaged surface on its own — one wall, one ceiling section, one floor area, one elevation of the roof | The extent of a surface, which is what an estimate is measured from |
| 3. Tight | The failure point itself, filling the frame, with a tape measure, ruler or level held beside it | The mechanism and the size — a split hose, a hail bruise, a lifted shingle tab, a crack width |
| 4. Labels | Model and serial plates, manufacturer stamps, date codes, shingle wrappers, flooring boxes if you have them | What the item actually was, so it is replaced with like kind and quality rather than a guess |
The wide shot is the one people skip and the one that does the most work. A tight photograph of a stained ceiling with nothing else in frame can be from anywhere; the same photograph is evidence once a wide shot puts it in your dining room. If you take nothing else, take a wide shot of every room in the house, damaged or not, on the day of the loss.
What does each kind of loss need photographed?
The four passes stay the same; what changes is the specific thing an adjuster will look for and a homeowner will not think to capture. These are the items most often missing from the photo sets we are handed after the fact.
| Loss | Capture specifically |
|---|---|
| Hail | Soft metals first — gutters, downspouts, vents, flashing, the air-conditioner fins, a mailbox. They dent when shingles bruise, and they are photographable from the ground. Also the hail on the ground, before it melts, next to a ruler or a coin. |
| Wind and storm | Lifted or creased shingle tabs, missing pieces on the ground and where they landed, the direction debris fell, fence and tree damage that dates and directions the storm |
| Water | The failed component before the plumber removes it, the shape and edge of the wet area, staining rings, the meter reading, and every wet surface before a fan is placed. Duration is the whole fight, as we set out in sudden vs gradual water damage. |
| Sewer backup | The floor drain, sump pit and any window well, the height of the water line on the wall measured with a tape, and what the water carried — the path it took is the coverage question |
| Fire and smoke | Soot lines on walls and above door frames, the inside of closets and drawers, the underside of upper shelves, and every contents item individually before anything is bagged |
| Ice and snow | Icicles and ice at the eave before it melts, interior staining at exterior walls, and the roof line while the snow load is still on it |
| Vandalism and theft | The point of entry, tool marks, the empty space where an item was, and the broken parts before they are swept up |
What do people forget, and what does it cost?
Almost always the same five things: the undamaged surfaces, the inside of storage, the temporary repairs, the contents before they are hauled away, and a second round of photographs after tear-out. Each of them is a line item somebody will later ask you to prove.
- The parts that are fine. Photograph the undamaged slopes, the intact siding elevations, the rest of the flooring run. Whether a repair has to match the existing work is decided on what the existing work looks like, which is the argument in our guide to matching in Illinois policies.
- Inside things. Open every cabinet, closet, drawer and wardrobe and photograph the contents in place. Contents claims are built from lists, and a list assembled from memory three weeks later is always shorter than the truth.
- The temporary repairs. Photograph the tarp going on, the boards going up, the fans and dehumidifiers where they stood, and the moisture meter readings on the screen. Keep the receipts with the photographs. Emergency mitigation is normally payable, and it is normally the first thing questioned.
- Everything you are about to throw out. Bagged clothing, ruined furniture, the failed part, the soaked pad. Once it is at the kerb it is gone, and its value goes with it.
- The second round, after demolition. When drywall comes off and carpet comes up, damage nobody could see appears — wet framing, charred studs, corroded fasteners, mould behind a vapour barrier. That is a five-minute job that frequently doubles what a file can support.
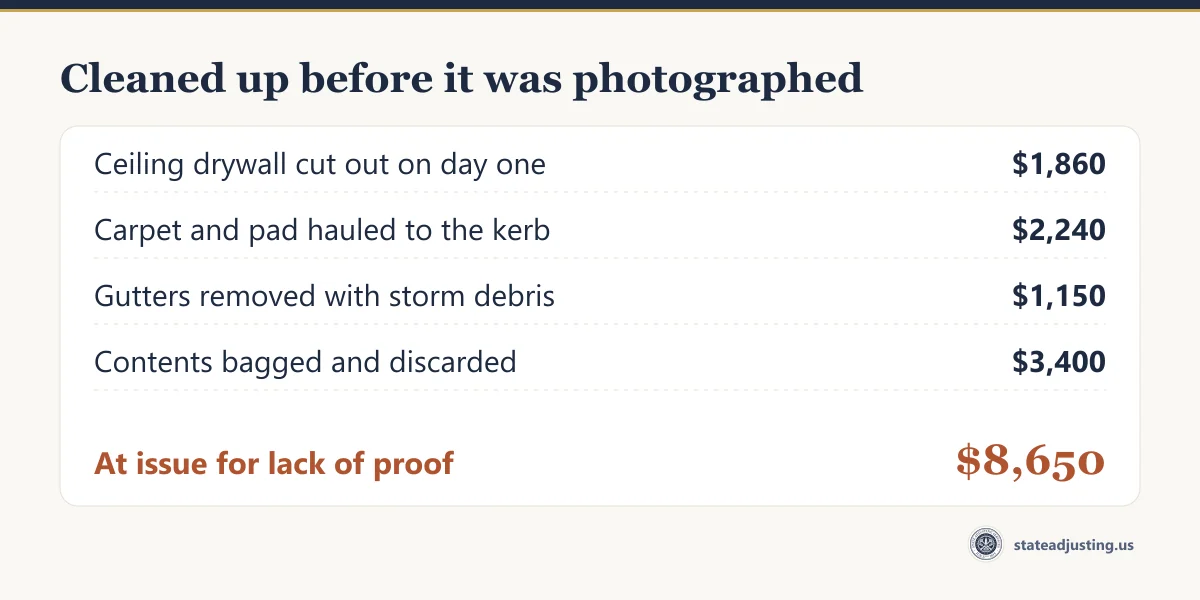
Here is what those omissions look like as arithmetic. This is an illustrative worked example on a storm loss with interior water intrusion, chosen to show the mechanics — not a price list, and not a result from any client file.
| Removed before it was photographed | Amount at issue | Why it became unprovable |
|---|---|---|
| Ceiling drywall cut out on day one | $1,860 | Nothing shows how far the staining ran or how much was removed |
| Carpet and pad hauled to the kerb | $2,240 | No record of the wet area, the grade of carpet, or the room it came from |
| Gutters removed with the storm debris | $1,150 | The dents that would have supported the roof claim went with them |
| Contents bagged and discarded | $3,400 | No item-level photographs, so no defensible inventory |
| At issue for lack of proof | $8,650 | Not denied on coverage — simply unsupportable on the file |
Notice that none of those lines was excluded by the policy. The loss may well have been covered. There was just nothing left to measure it against, and a line item that cannot be substantiated tends to come out of the estimate quietly.
How do you photograph so the file cannot be dismissed?
Shoot originals, keep originals, and never improve them. Photographs get dismissed for three reasons: no scale, no context, or obvious editing. All three are avoidable in the way you take and store the set, and none of it needs a real camera.
- Leave the file alone. No filters, no cropping, no brightening. Your phone writes the date, time and often the location into the image file. Keep the originals untouched and share copies — messaging apps and some upload forms strip that data and re-compress the picture. Email the set to yourself the same day.
- Put something in frame for scale. A tape measure is best because it reads as a number. A ruler, a level or a folding rule works. A coin only tells somebody the size of a coin.
- Light the cavity. Use the flash inside walls, attics, crawl spaces and under cabinets. A dark photograph of wet framing proves nothing.
- Add a narrated video, but do not rely on it. Walk every room slowly, say the room name and the date out loud, and hold on each damaged area for a few seconds. Video is excellent for context and poor for detail — a still frame pulled from it is far lower resolution than a photograph.
- Never stage, add to or exaggerate damage. Beyond being fraud, it is the one thing that can sink an otherwise legitimate claim entirely. Photograph what happened; that is normally more than enough.
- Stay off the roof. Falls are the real risk in this whole exercise. Use a ladder at the eave, a zoom lens or a drone operator, or wait for somebody whose job it is.
- Name and back up the set. A folder per room, or file names with the room in them. Duplicate the lot to a second place before the phone gets lost, and hand over copies rather than the only copies.
What to do next
If damage happened today, the order is: make it safe, stop the source, photograph everything in four passes, then mitigate — and photograph again once the walls are open. Keep the failed part, keep the receipts, and keep the originals. Report the loss to your carrier promptly, in your own name, with the date the damage occurred rather than the date you noticed it.
If the photographs were never taken, the file is harder but rarely finished — weather records, doorbell footage, prior listing photographs and restoration readings rebuild part of it, and that is worth doing before anybody agrees the estimate is final.
We handle storm, hail and water damage claims across Illinois, residential and commercial, and a fair share of that work starts with a photo set somebody took in a hurry. Our process page sets out how a claim runs with us on it, and past clients describe the experience on our reviews page. If you want somebody to look at what you have before the scene is gone, our free claim review costs nothing and carries no obligation — including when the answer is that you do not need us. When we are engaged, our fee is a percentage of what we recover, agreed in writing and regulated by Illinois law, with $0 owed upfront. We answer the phone Monday through Friday, 7:00 AM to 7:00 PM, and Saturday and Sunday, 9:00 AM to 5:00 PM, on (630) 297-8136.
Questions we get about this
What should I photograph first after property damage?
A wide shot of every room, damaged or not, taken from a doorway or corner. Wide shots place every close-up you take afterwards inside your house and establish the size of each room. Then work inward: each damaged surface on its own, the failure point close up with a tape measure in frame, and finally model plates and serial numbers.
Can I clean up before the insurance adjuster arrives?
You generally must. Most policies require you to protect the property from further damage and exclude damage caused by neglecting to do so, so extraction, drying and tarping should start at once. Photograph and film everything first — that takes about ten minutes — and then photograph again once drywall and flooring come out and hidden damage is visible.
Do photo timestamps matter on an insurance claim?
They help, because the date a loss occurred is often disputed. Phones record the date, time and frequently the location inside the image file. Keep the originals untouched and share copies, since messaging apps and some upload forms strip that data and re-compress the picture. Emailing the set to yourself the same day is a simple way to preserve it.
What if I already threw out the damaged items?
The claim gets harder, not impossible. Weather records, doorbell and security footage, photographs from neighbours, prior real-estate listing pictures, home-inspection reports, restoration company moisture readings and receipts for what was hauled away all rebuild part of the record. Assemble them before agreeing that an estimate is final.